


Beach-themed play dough
Make beachy, creamy coconut-scented play dough for fun summer learning.
You'll Need
- Flour
- Vegetable oil
- Salt
- Cream of tartar
- Boiling water
- Coconut extract
- Ivory food coloring
- Small seashells
- Sea glass or glass beads
- Small rocks
- Sand
- Tray
Learning Stages

Play dough is a staple in my kindergarten classroom. We use it during center time for free play, during literacy stations to roll out letters or stamp letters into the dough, and in our art area to create sculptures. Play dough provides a great opportunity for young children to develop their small motor skills by using their hands to roll, pinch and push the dough.
The play dough table is always popular, especially at the beginning of each new month when we make an extra-large batch of a seasonally appropriate play dough. Pumpkin Spice play dough in the fall and peppermint play dough in December are two of my personal favorites. Here is a fun idea for bringing the beach to your kitchen table this summer!
Recipe for Creamy Coconut play dough
- 2 cups flour
- 2 tablespoons vegetable oil
- 1/2 cup salt
- 2 tablespoons cream of tartar
- 1 ½ cups boiling water
- 2 teaspoons coconut extract (can be purchased at craft supply stores)
- A few drops of ivory food coloring (optional)
Directions
- Add the dry ingredients to a large bowl.
- Boil the water and add the coconut extract, vegetable oil and food coloring (optional) to the water.
- Combine the wet and dry ingredients, stirring vigorously until everything is nicely combined.
- Cool slightly, and then knead the dough to be sure everything is well combined and feels smooth. If the play dough dries out as you are playing, add a few more drops of vegetable oil and knead it in to the dough.
This recipe is great for 1 or 2 kids (teachers, triple the recipe if you are making it for a classroom). Store the play dough in an airtight container or Ziploc bag for up to 1 month.
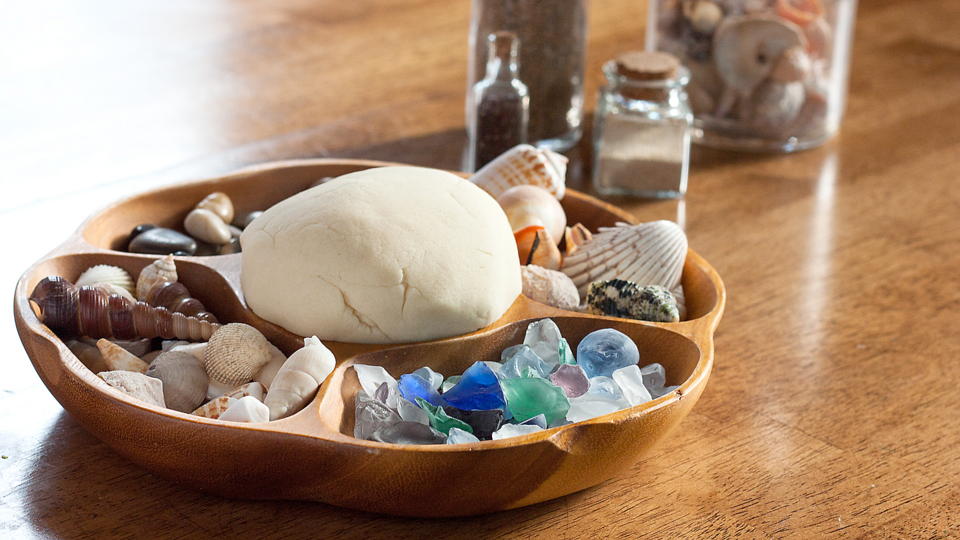
Setting up the activity
If your child is a collector, this is a great time to use their shell, rock or sand collections. A small handful of each type of item is all you need to get started.
Set out your play dough and other materials on a flat, protected surface. If you want to be sure the play dough stays contained in a small area, a plastic or laminated placemat will help your child know where their creations need to be built.
Questions to ask
Have conversations with your child about their work as they're creating. I always try to phrase my questions and statements in an open-ended way. I usually start with "Tell me what you're working on." This gets kids talking about their creations using descriptive language. Don't forget to help your child recognize sensory details as well. Discuss the smell of the coconut, the texture of the shells, and the colors of the sea glass. Be creative, have fun, and talk about the sensory and artistic experience! You can even play some relaxing ocean music in the background to make it feel like a day at the beach!
A word of caution
Be sure to check the edges of the pieces of sea glass to make sure they won’t cut your child. Broken seashells can also be sharp! Take care when setting this activity up for children and remind them to be careful as they play and create.
More Like This
Motor skill magic
Fine tune fine motor skills with techniques created by a teacher.
Dough-nonsense
When children play with play dough, challenge them to form and identify different shapes. Playing with dough strengthens small hand muscles, building strength for coloring and writing.
Make scissors kid's play
Let your child practice cutting with scissors by cutting play dough.