Pressed leaf nature book
What do you do in the fall when the wind starts to blow? Go outside and collect some free art supplies!
You'll Need
- Paper towels
- Card stock
- Rubber band
- Glue stick
- Hole punch
Time
60 minutes
Learning Stages

It's been a bit windy at our house, so the other night, I decided to go collect a few leaves from our deck in the morning. There is nothing more beautiful than the variety of sizes, shapes and colors of fall leaves. When my kids were little, we’d take the wagon with us and collect as many different leaves as we could. We all loved going on a Leaf Walk, as we called it.
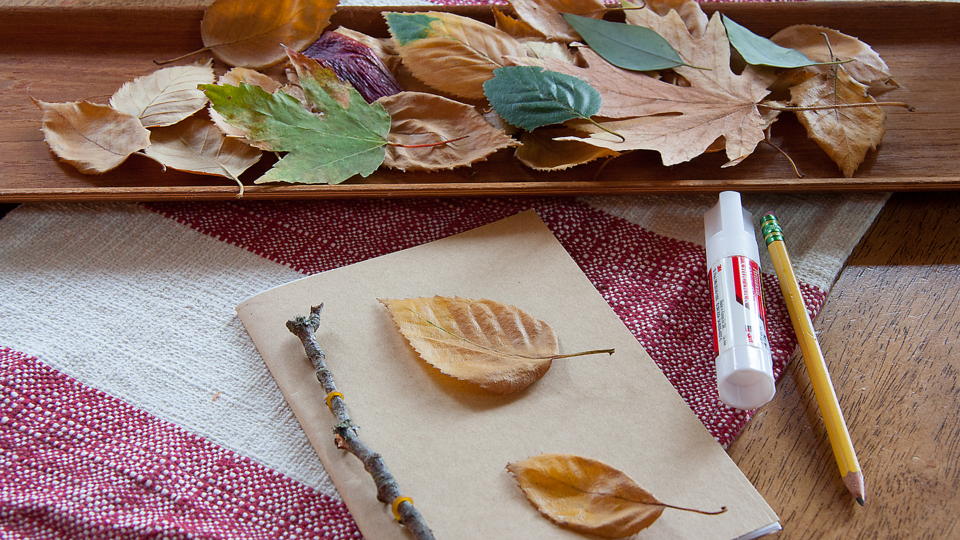
How to press leaves
There are so many different art projects in which to use beautiful leaves, but my favorite projects begin with pressing the leaves.
- Start by collecting a variety of different leaves. Look for different sizes, shapes and colors.
- Lay a paper towel on the kitchen counter.
- Spread out leaves on the paper towel. Place another paper towel on top.
- Continue layering, alternating paper towels and leaves.
- When finished, top with several heavy books.
- Let these leaves press and dry for about a week.
After several days, the leaves are ready to use in projects. Do not store in a plastic bag or airtight container. Any moisture left in the leaf will cause mold growth.
Creating a nature notebook
A nature notebook can be made out of paper, cardstock, craft paper or even recycled boxes.
My favorite way to make a notebook is with large blank cards. I purchase blank 5x7 cards to keep on hand for projects. Natural colors are great for making notebooks.
- Cut several sheets of blank paper to the same size as the 5x7 card.
- Fold a 5x7 card in half, and then fold the cut papers in half and place inside of the card.
- Punch two holes in the side of the book.
- From the back of the book, place one end of a rubberband through the top hole and the other end of the rubberband through the bottom hole.
- Use a twig to hold the two ends of the rubberband in place, and your notebook is ready to go.
Pressed leaves will be simple to add to the nature notebook. White glue or glue sticks work well to hold leaves in place. Add a variety of leaves to the nature notebook. Older children will be able look up the names of different leaf types, while younger children will simply enjoy collecting their leaves. If you’re feeling more artistic, use the leaves to create artwork! Leaves of different sizes, shapes, and colors can be used to create pictures. Animals are especially fun to create with small leaves.
Inspirational books about collecting leaves
- Look What I Did With A Leaf by Morteza Sohi
- Leaf Man by Lois Ehlert
- We’re Going On A Leaf Hunt by Steve Metzger
More Like This
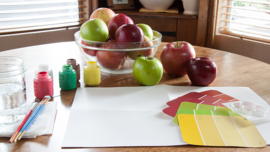
Observational apple painting
Celebrate the change of the seasons with this creative apple activity.
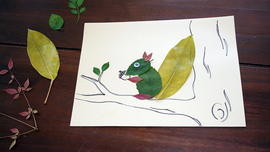
Creature collage
Use simple natural materials to craft a squirrel in a tree and other creatures of your own creation.